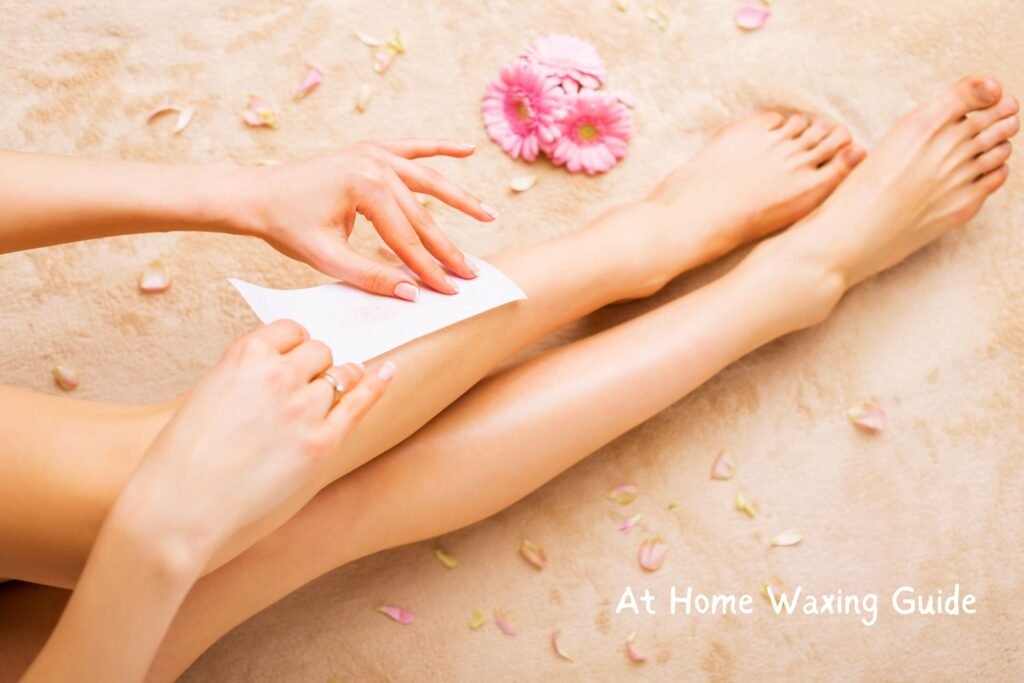
For me, waxing is one of the riskiest and toughest tasks as a beauty enthusiast. It’s challenging to perform, but the outcome of several weeks of smooth, hair-free skin is worth it.
Not everyone loves having hair on their body, but it’s not something to be ashamed of either. Some people remove hair for their own satisfaction because it makes their skin smoother and brighter, while others do it simply because they don’t like having hair on their body. What I’m saying is that it’s totally up to you.
Getting waxed by a professional can be really expensive. So if you want to save some money and still look beautiful, you’ll need to do it yourself at home. Waxing at home gets easier with practice, but for a beginner, it can be tough. That’s why I suggest you read this blog thoroughly.
Why At-Home Waxing?
Although at-home waxing may not provide the same level of expertise as a professional service, it offers privacy. If you’re conservative like me, we’re in the same boat. Additionally, you know your body best, so you’re aware of sensitive areas that might require extra care—something a professional might not know.
At-home waxing is also cost-effective. With some products you already have at home and a few additional purchases, you can get the job done yourself.
What You’ll Need
Before starting, make sure you have all the items listed below. If you don’t have something, buy it. Do not start without these essentials. You can find alternatives, but make sure you have them all:
- Wax
- Waxing strips
- Applicator
- Baby powder
- Moisturizer
DIY Wax Recipe
Ingredients:
- 2 cups of sugar
- 1/4 cup of water
- 1/4 cup of lemon juice


Instructions:
- Mix the Ingredients: In a medium-sized pot, combine the sugar, lemon juice, and water.
- Heat the Mixture: Place the pot on medium heat and stir continuously until the sugar dissolves completely.
- Simmer: Once the mixture starts to bubble, reduce the heat and let it simmer until it turns a golden-brown color. This should take about 5-7 minutes.
- Cool It Down: Remove the pot from the heat and let the wax cool slightly before using. It should be warm, not hot, to the touch.
Now, you’re ready to wax!
Step-by-Step Guide to Waxing
Prep Your Skin
Exfoliate:
Preparation for waxing begins before the actual process. Exfoliate your skin with a scrub, brush, loofah, or gloves—whatever suits you best. Exfoliation helps reduce the chances of ingrown hairs and makes it easier to pull out the hair.Trim:
You can trim the area you want to wax. This increases the efficiency of the process, as longer hair will require more wax and pressure.Clean:
On the day of waxing, it’s crucial to clean your skin before anything else. After waxing, your skin will be very sensitive and vulnerable to bacteria. A clean surface will help prevent infection.Dry:
Ensure that your skin is dry before waxing. Wax does not adhere well to a wet surface. After cleaning, dry your skin thoroughly and apply baby powder. The powder acts as a barrier, reducing the pressure of the wax on the skin and helping the wax stick to the hair rather than the skin.
Prepare the Wax
Be careful when heating the wax. Use a double boiler or microwave oven. Soft wax requires more heat than hard wax, so be especially cautious with soft wax to avoid burns. Make sure the temperature is bearable.
Pro Tip
Use a wooden spatula rather than a steel knife. Wood is not a great conductor of heat, so it won’t transfer heat from the wax to your body. This makes it easier to apply the wax. You can even use an ice cream stick for the job.
Apply the Wax
Apply the wax with a wooden spatula in the direction of your hair growth. If you’re using soft wax, place a strip over the wax and press. Wait a few seconds, then pull the strip against the direction of hair growth. If you’re using hard wax, apply it in the direction of hair growth, wait a few seconds, and pull it in the opposite direction.
Moisturize
After waxing, be sure to moisturize the area. You can use a soothing gel if it’s burning or a hydrating body lotion.
Skin Issues That Can Affect Waxing
If you have any of these skin issues, I recommend avoiding waxing. Waxing is an intensive procedure that can make the skin vulnerable, and these issues could make it even more dangerous:
- Sunburn
- Dry skin
- Any kind of injury
- Pimples
Skin Injuries Caused by Waxing
Since waxing is rough on the skin, it can cause injuries such as:
Skin Burns
To avoid burns, be very careful with the wax temperature. It shouldn’t be too hot. Always do a patch test before waxing. If your skin gets burned, apply cold water and consult a doctor for treatment.

Skin Infections
To minimize the risk of infection, thorough cleansing is essential. Clean your skin thoroughly before waxing to remove any bacteria and dirt.

Ingrown Hair
Ingrown hair is one of the most common problems associated with waxing. It’s painful and can result in pimples. To prevent ingrown hairs, exfoliation is key. Properly exfoliate your skin before waxing.

Stripping of Skin
Apply baby powder to avoid stripping of the skin. Also, make sure your skin is dry.
Aftercare Tips
- Avoid Hot Showers: For the first 24 hours, avoid hot showers, as your skin will be sensitive.
- Exfoliate Gently: After a couple of days, exfoliate the waxed area to prevent ingrown hairs.
- Moisturize Regularly: Keep the area hydrated to maintain smooth skin.
Frequently Asked Questions (FAQs)
Q: How long does the hair need to be for waxing?
A: Your hair should be at least 1/4 inch long (about the size of a grain of rice) for the wax to grip it effectively.
Q: Can I wax if I have sensitive skin?
A: Yes, but do a patch test first. Apply a small amount of wax to an inconspicuous area and wait 24 hours to see if any irritation occurs.
Q: How often should I wax?
A: Typically, you can wax every 3-4 weeks. It depends on how fast your hair grows back.
Q: Is at-home waxing painful?
A: It can be uncomfortable, especially the first time. However, the more you wax, the less painful it becomes as the hair grows back finer.
Q: Can I wax during my period?
A: Yes, but your skin might be more sensitive, so it could be more painful. It’s best to wax a week after your period ends when your pain threshold is higher.
Q: What should I do if I experience redness or irritation?
A: Apply a cold compress to the area and use aloe vera gel or a soothing lotion to reduce inflammation.
Q: Does waxing increase the density of hair?
A: One of the most frequently asked questions about waxing. But no, it does not thicken hair growth. Waxing pulls hair out from the root.
At-home waxing can be a simple, effective, and budget-friendly way to keep your skin smooth. By following this guide, you can ensure a safe and comfortable waxing experience. Remember, practice makes perfect, so don’t be discouraged if it takes a few tries to get it right. Happy waxing!


